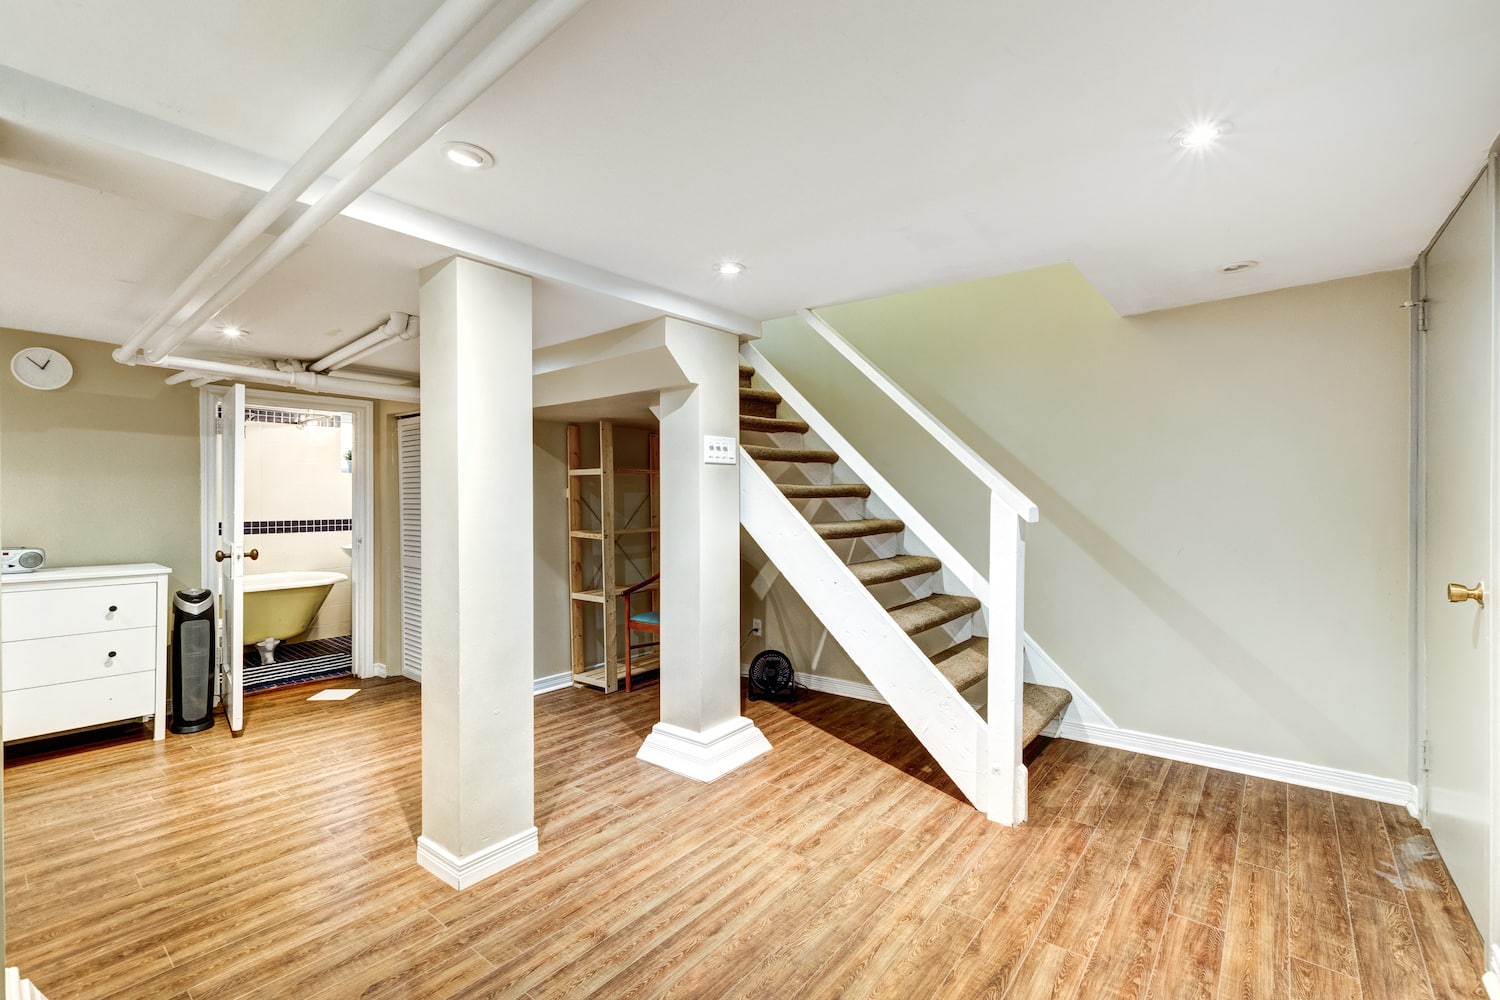
Learning how to finish a basement is an excellent way to add space and increase value to your home.
Many homeowners have bought a house with the intention of finishing the basement, but life gets in the way. Whether it is work, kids, or another home project that takes precedence, finishing the basement always gets kicked down the list. We all know there is a finite amount of time in the day, but learning how to finish a basement can add space and value to your home!
Whether you’re looking for more investment square footage, or to add a guest room; dreaming of that playroom big enough for a pool table, or building some unique entity with everyone’s favorite, a theater room. Regardless of your aspirations for your basement space, there are some basic steps in renovating a basement, from installing drywall, putting in a drop ceiling, recessed lights, and of course installation instructions for a wet bar.
Ready to start your project? Here is a step-by-step remodelers guide!
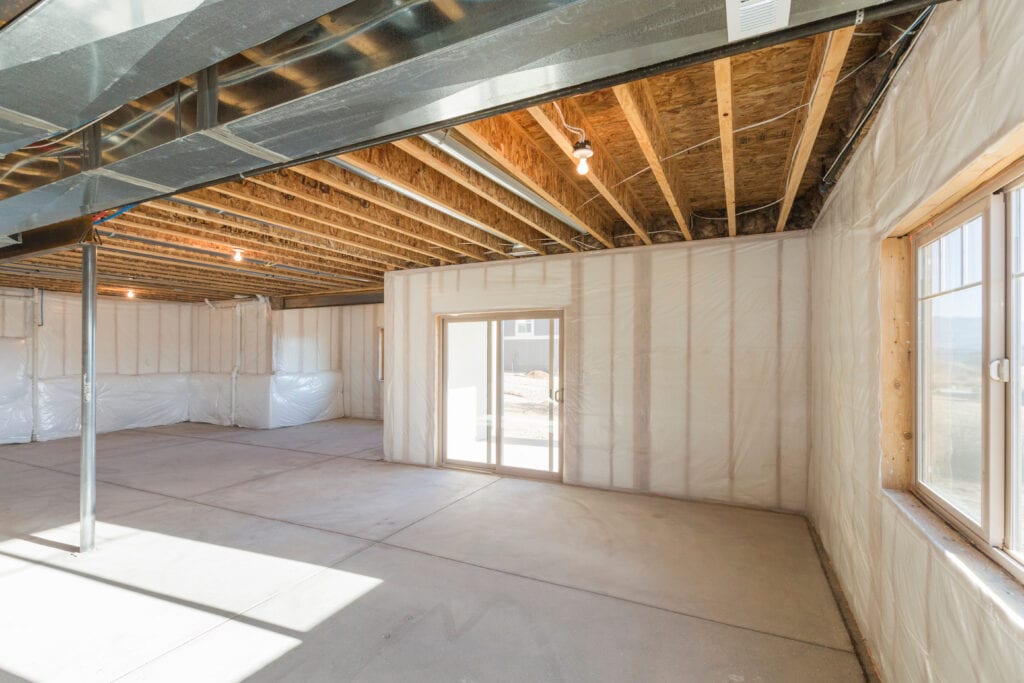
Do a Preliminary Assessment of Your Basement
Before running to Home Depot to pick out your flooring, there are a few things to look into. First, it’s best to review the tools and materials needed, from there you can begin calculating your budget.
During this time it is also important to ensure there are no moisture problems in your basement. You’ll want to ensure there are no water leaks, as this can lead to a homeowner’s nightmare: mold and mildew. A great way to rule this out is to complete a Moisture Test. If moisture issues do arise, there are some easy ways to fix them:
- Redirecting downspouts away from the foundation
- Ensure that water isn’t draining into your basement from the slope of your lawn
- Purchase waterproof paint and coating to help create a seal on interior walls
- The most efficient and affordable method of clearing away basement moisture and musty smells, your basic dehumidifier should do the trick
A very important step in this process, you’ll want to ensure that your space is up to code before beginning your project.
- Research local building codes and building permits. You may need to apply for a building permit before beginning work on your basement. Confirm if there are specific rules for ceiling height, or if there are a required number of exits necessary to be considered for your basement renovation.
- Once any necessary permits are acquired you can officially begin sourcing tools and materials for your project!
Gather Your Supplies
Tools you will need:
- Caulk gun
- Circular saw
- Masonry drill bit set
- Masonry drill
- Dust mask
- Hearing protection
- Safety glasses
- Hammer
- Level
- Sawhorses
- Stepladder
- Tape measure
- Utility knife
- Framing Nailer or Nail Gun
- Drywall Jack
Materials you will need: (Remember to take complete measurements of your basement before purchasing materials)
- Foamboard adhesive
- Polystyrene foam insulation
- Duct tape
- Caulk or spray foam
- Two-by-four boards, enough to frame all exterior walls
- Cement Nails
- Framing nails
- Wall screws
- Drywall
- Ceiling Tiles
- The flooring of your choice
- Wire
- Shims
- Plywood
- Wire cutters
If you are building a subfloor, you will need to purchase insulation for the floor and the foundation walls. The required materials may vary depending on your floor plan. Before you get started you should measure the project area.
Steps to Finishing Basement Walls
These next steps will take your current concrete storage room from a place you keep that old treadmill and paint cans, to a finished basement that is an inviting new space in your home.
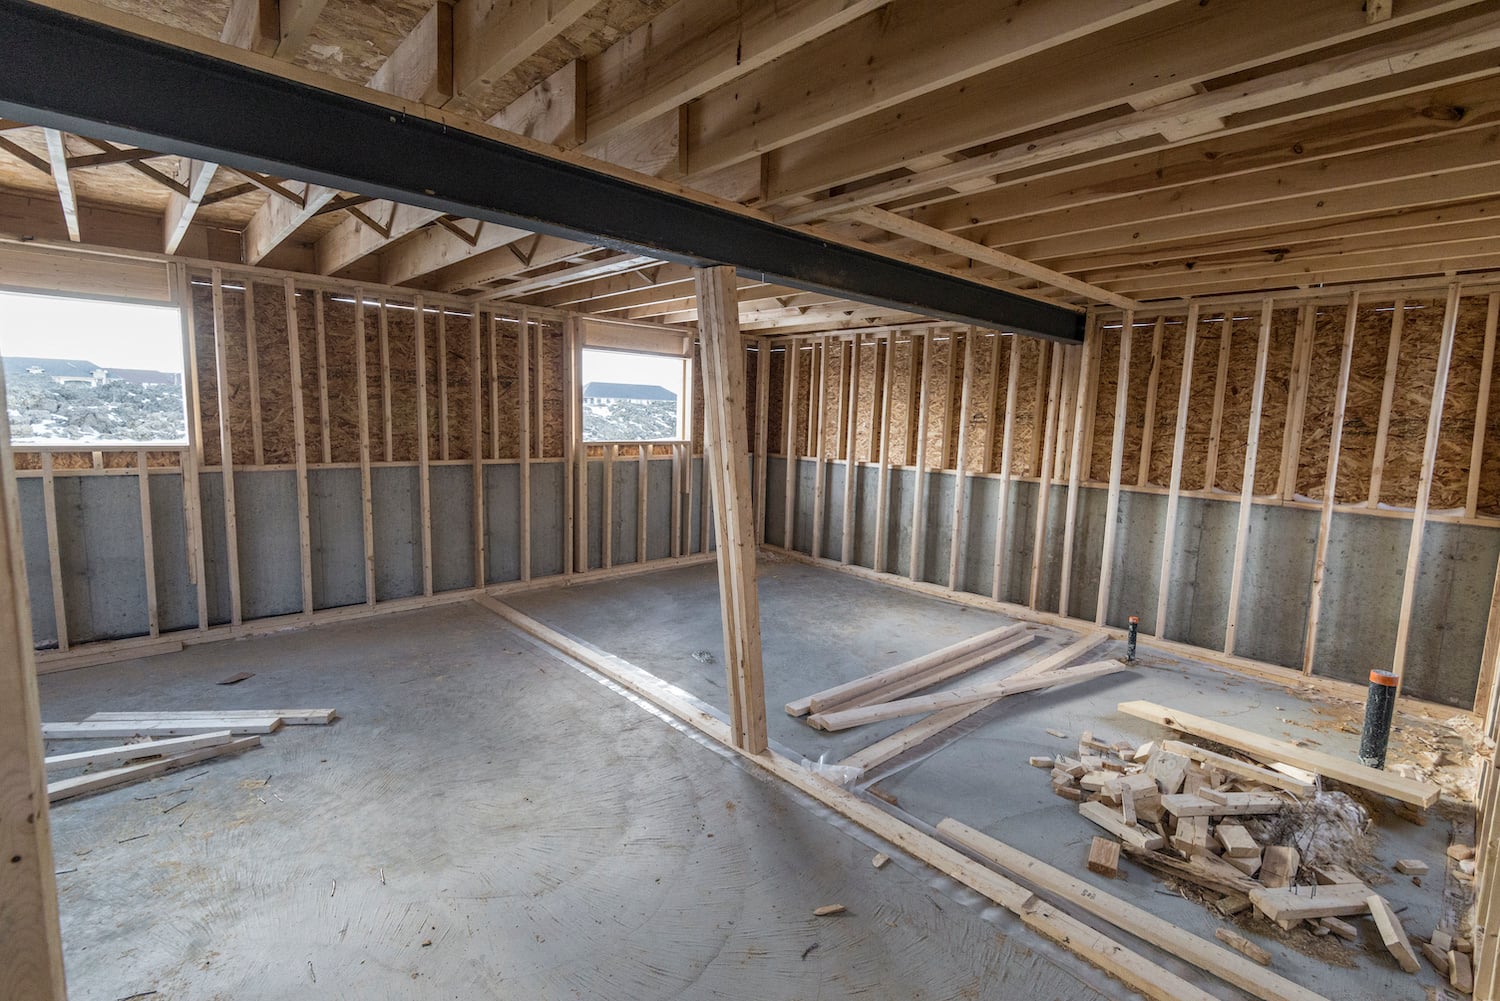
Step 1: Framing Your Walls
Before you can begin the process of framing your walls, you will need to measure and cut your two-by-fours. Your vertical wall joists should be cut with an allowance for the top and bottom plates as well as an additional 1/4 inch. This ensures that you will have enough space to fit the frames against the foundation. Once you have your boards cut you’re ready to start the installation.
- Using chalk lines, mark where you are going to place your walls along the floor.
- Starting with the stud finder, locate where the joists are in the ceiling.
- Measuring along the ceiling, mark where your walls will be placed. Using your tape measurer you want to mark where your plates will go, the basis of framing your walls.
- Starting with the walls that run parallel to your floor joists, install blocking between the overhead joists and the wall by screwing or nailing the pre-cut two-by-fours to your joists every 2 feet along the parallel walls. This will create the structure required to attach your frames.
- Layout the sole plate.
- Determine the stud locations / measure the stud length.
- Cut the studs for the new walls.
- Assemble the walls.
- Place the wall.
Now that you have framed your walls, the next step is to install insulation.
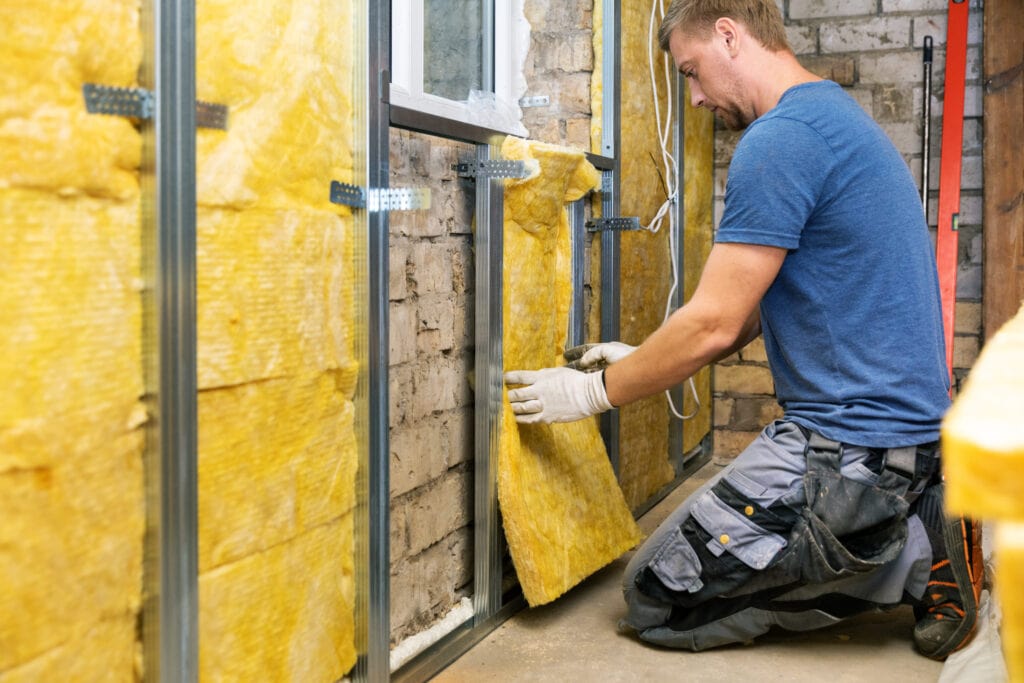
Step 2: Installing Insulation
One of the first things most homeowners need to take care of when finishing their basement is to install insulation. Bare cement walls present challenges for temperature regulation. Installing insulation on the walls of your entire basement will prevent cold air from leaking in during the winter. This will also prevent warm air from leaving your house during the winter.
- Installing foam polystyrene insulation directly to your foundation walls is adequate for most basements. Begin by using a construction adhesive glue, and gluing about 3/4-inch polystyrene foam insulation to fit against the rim joists and each of the foundation walls.
- By using chalk lines to mark your measurements, and cutting with a utility knife or a circular saw, you will cut the rest of the sheets of foam insulation (similar to how you cut drywall) for the foundation walls.
- Next, you will spread a 1/4-inch of adhesive in an S-shaped pattern on the bare masonry walls, then press and fit the sheets of foam in place.
- You can fill any gaps with small pieces of foam wherever needed, cutting around obstructions and ensuring insulation is tightly fitted.
- Once you have all of the foam insulation installed on each wall, you can seal any gaps, focusing on the area around the walls against the ceiling.
After you finish insulating your walls you’re ready to install the drywall.
Step 3: Install Drywall
Hanging drywall is the last step before you can start painting and really get down to decorating your walls, but the process requires some precision and patience. You will want to measure the locations, as well as dimensions and shapes, of any outlets or valves before drywall hanging so that you can cut out access holes once your drywall is in place.
You have the option of hanging your drywall vertically or horizontally, although hanging horizontally is most common and will result in an overall easier process for drywall finishing.
- Measure each piece of drywall so that they will end at a stud and trim off the excess drywall with a utility knife.
- Secure the drywall to the stud with drywall screws and a drill ensuring not to tear the surface of the drywall paper with the screw heads.
- Use sheet rocking tape to cover seams, then mud over seams and any screw heads.
- If you’re planning on painting, make sure sand anywhere the mud was placed for a smooth finish.
That’s it! While this process is fairly straightforward it is important to be precise as this is the final step before painting your basement walls. Unclean seams will be visible even after painting.
How to Finish a Basement Floor
Now that you have your basement walls finished, it’s time to tackle the basement flooring. When finishing a basement floor, it’s recommended to use waterproof materials, as the basement is the lowest portion of a house. It is most at-risk of water damage due to flooding or leaking.
Side note: basement flooring is the most physically demanding part of the project, so be prepared to have some pain reliever handy when you’re finished.
If you have chosen a flooring option that snaps together, you can lay that directly on top of the concrete floor and easily consider your project complete! However, if you have any moisture concerns you will want to build a subfloor.
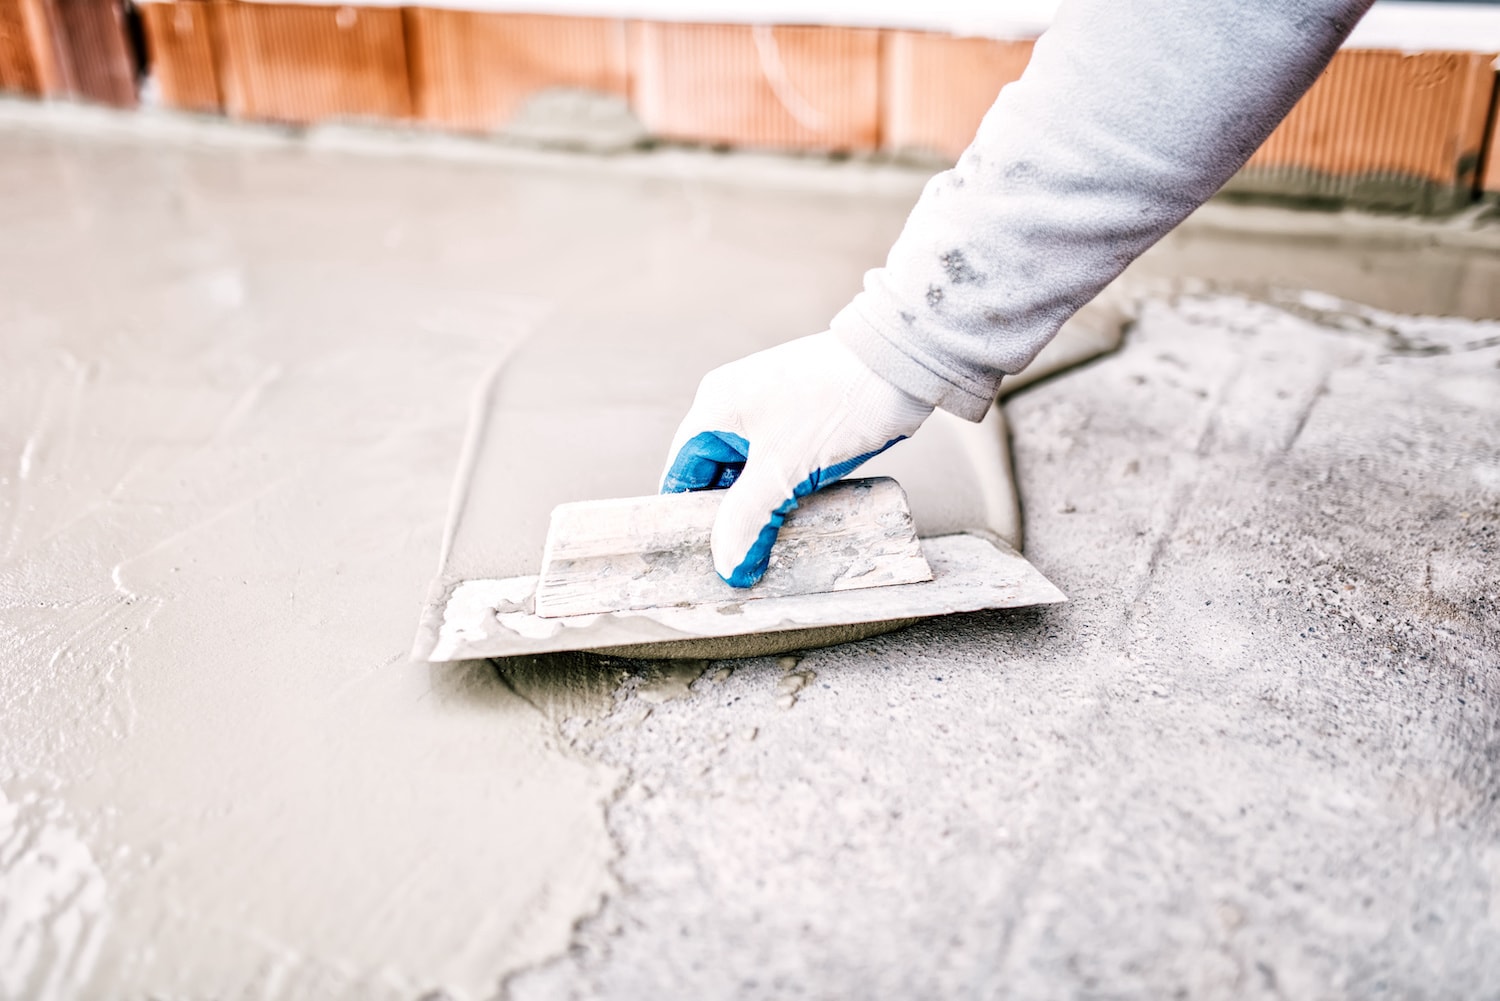
3 Steps to Install Subflooring and Finish Floors
- Laying sheets of polystyrene insulation on the concrete floors using adhesive in the same pattern as you did when insulating the walls.
- Once the insulation is installed, you will lay plywood sheets on top. Using screws and a masonry drill to secure them together.
- With plywood sheets and insulation complete, you are now ready to install the flooring of your choice with any design you had in mind!
Your whole basement should start to resemble a brand new living space at this point. With the floor and drywall installed, your home renovations are truly ready for the fun part of designing. A favorite selection for intermediates when renovating basements is the choice of a wood basement floor with an area rug to add comfort and style.
There are some universal tips that have been found to be most helpful when finishing a basement.
Best tips for basement renovation:
- Look for cracks – Inspect the floors and walls for any cracks. If found, use a crack solution to fill these in. Checking along each floor joist and insulating where needed can help!
- Add a subfloor – This is a sworn by practice for professional contractors, although it can be an additional step in the process this will make the space warmer, and ensure a dry floor.
- Keep in mind energy efficiency – A third of total home heat loss is due to inadequate insulation. Although the budget can be part of the weight of your project, keep in mind the materials and products you use should be of high quality when insulating floors and walls.
- Create a well-thought-out design – Ensuring your vision of a finished basement is more than deciding on where the new laundry room will go, or a mini fridge for the basement kitchen. A well-planned design will consist of a preliminary sketch of the space you have in mind.
Keep in mind that finishing a basement is an advanced skill level renovation. Depending on your scope of ideas, and of course level of comfortability taking on a project of this size— you should consider hiring a professional designer and contractor to help bring your unfinished basement to a whole new level.
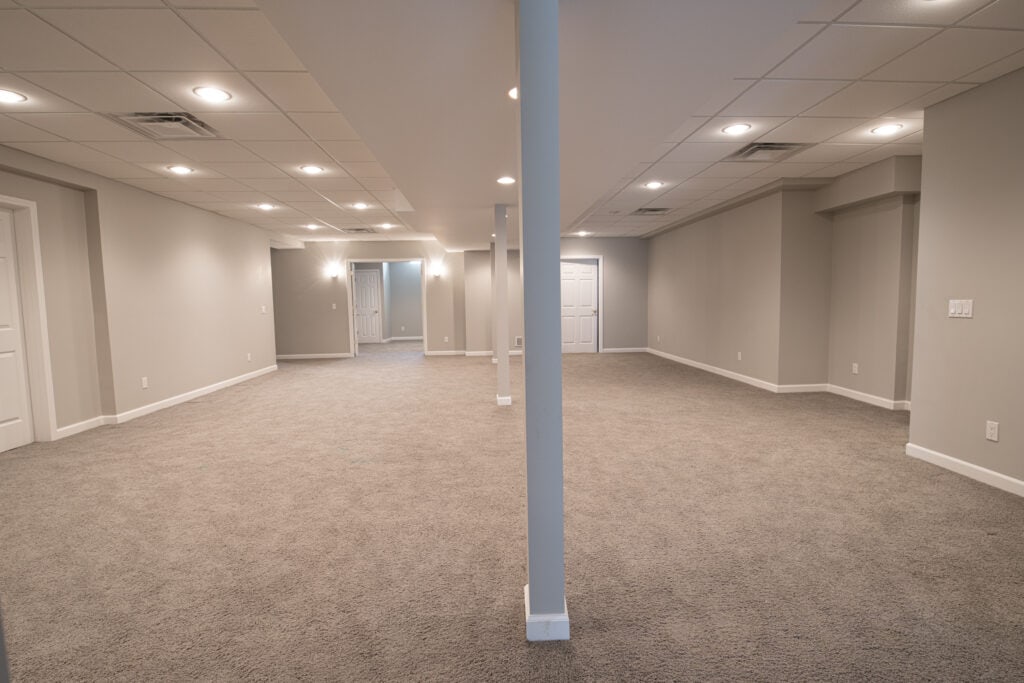
Time to Furnish and Decorate!
Now that you’ve done the tough job of remodeling the space with new flooring, walls, windows, lighting, etc. you can pay attention to the fine details. Some additional things you can do for your basement remodel include:
- Installing a wet bar
- Painting or adding wallpaper
- Installing tile flooring or walls
- Buying furniture and decor
- Installing recessed or integrated lighting
- Entertainment center built-ins
If you do add any additional lighting or electrical work, or anything outside of basic painting or decorating, be sure to check your local codes as you did for the flooring and prior renovations.
Hiring a Professional to Help With Your Basement Remodel
While it might be tempting to handle the entire basement finishing process by yourself, it can be super helpful to work with a reputable contractor to help you bring your dream vision to life. At Thomas Buckborough & Associates, our custom basement remodels ensure homeowners get the basement they want at the price they deserve. Whether you’re just thinking about a basement remodel or are already deep in your remodel, we would be happy to help! Contact us today to learn more.

