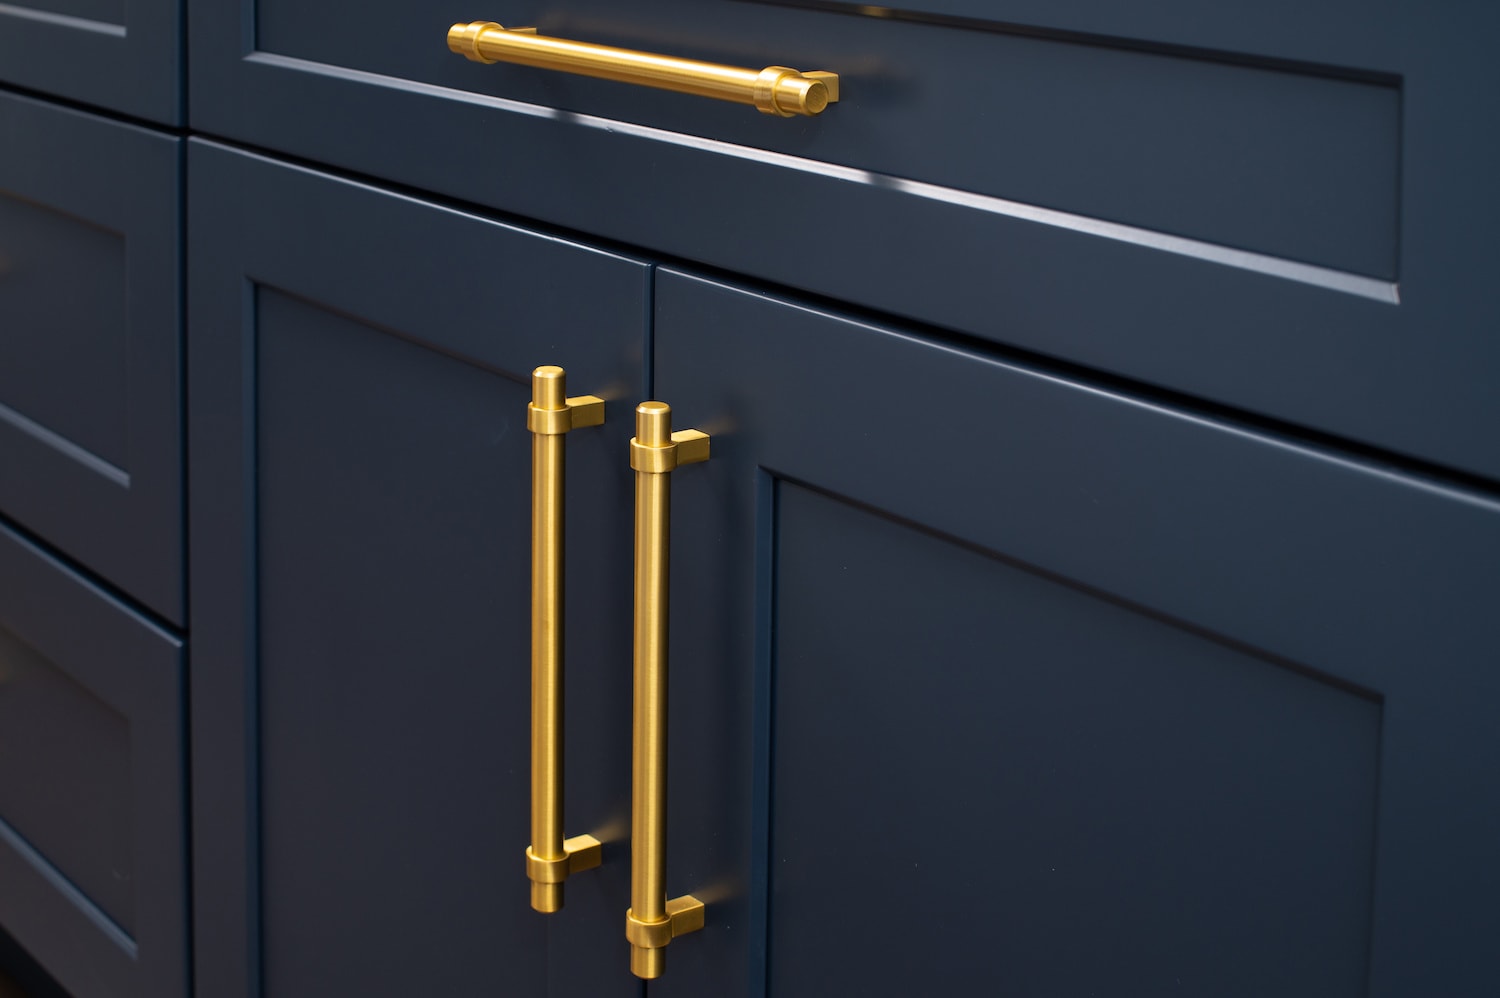
Trying to learn how to reface cabinets in your kitchen?
Restoring and refacing cabinets is commonly one of the first DIY projects homeowners take on when working to improve their homes. This makes great sense! Especially when you consider the high ROI of improving the kitchen.
While restoring old homes can be tricky, tackling just about any DIY project is possible with the right tools and knowledge. Whether you want to try your hand at laying new bathroom tiles or need to know how to reface cabinets in your kitchen, you can always find high-quality information online.
Big-box home improvement store websites and boards on Pinterest are the perfect places to spark some inspiration for your next project. Or check out the thousands of channels on YouTube and HGTV, often rife with reliable how-to guides that give great visual instruction on all kinds of construction work.
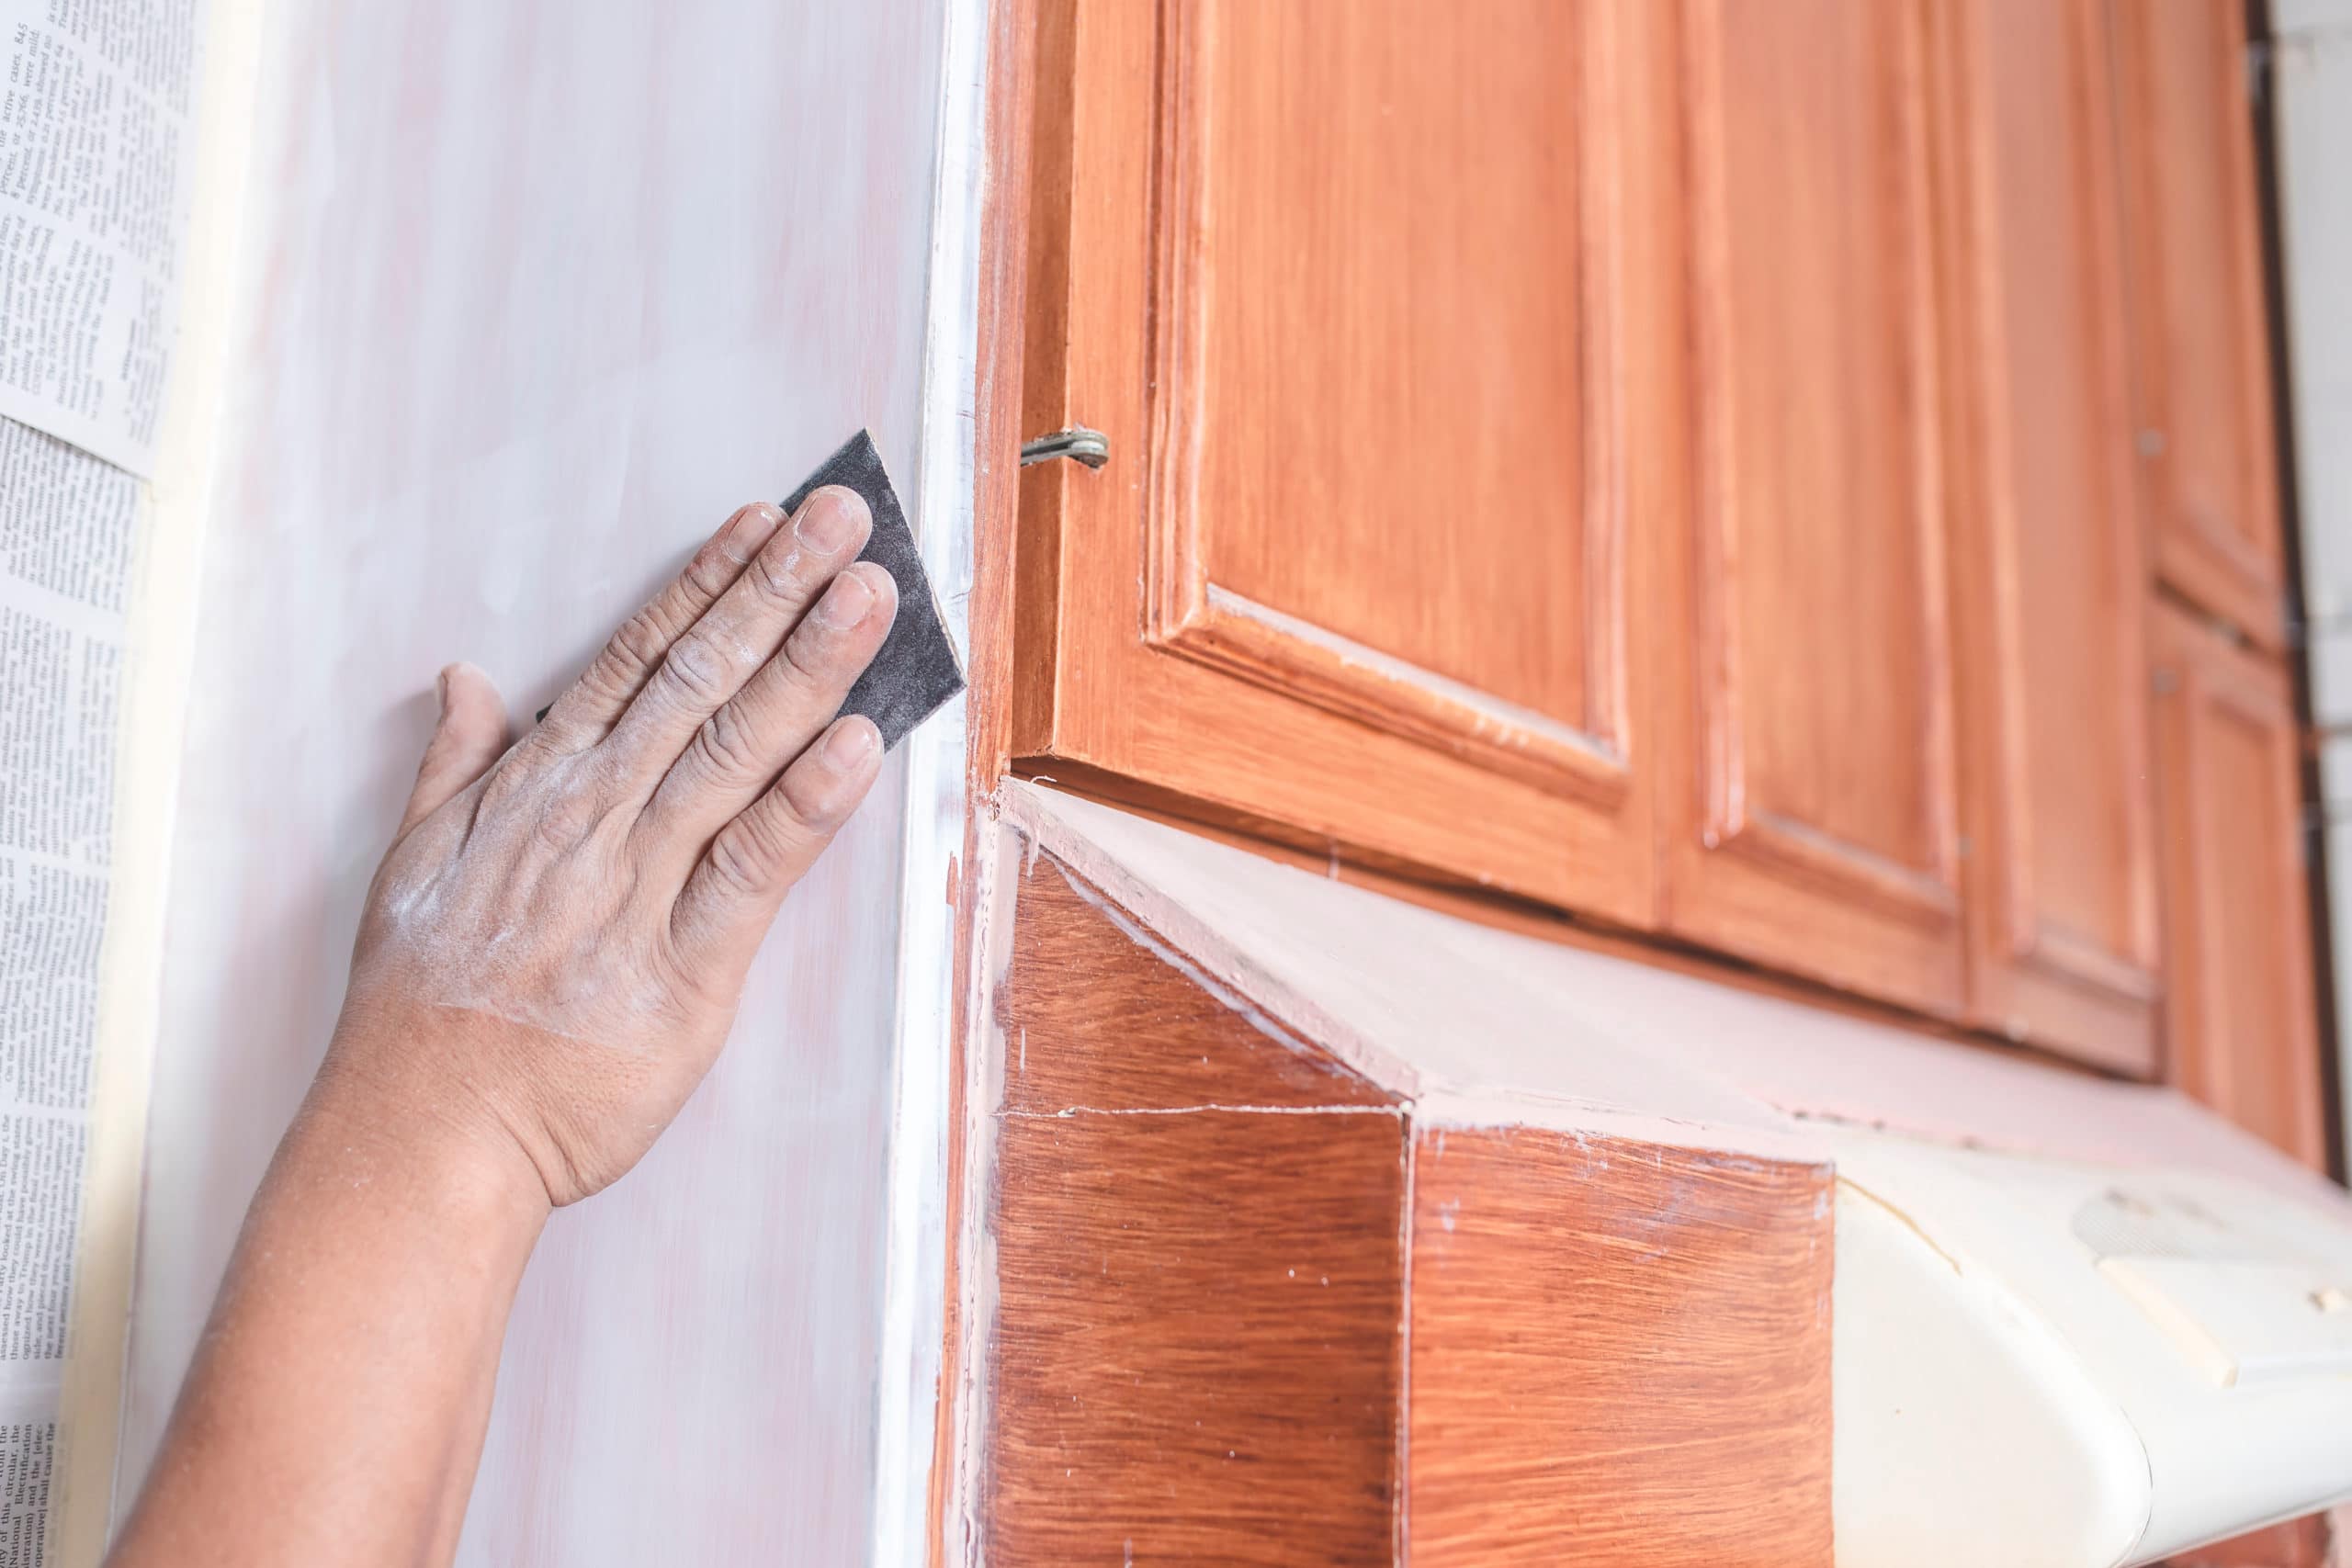
Ready to Refresh Your Kitchen Cabinets?
Are you starting to feel like your kitchen cabinets have seen better days? Maybe the drawer fronts are scuffed from years of use, and the cabinet doors could use a fresh coat of paint. Or perhaps you want to switch up the aesthetic of your kitchen.
Instead of making a hefty investment in new cabinet doors, you have another option. It’s easy to reface kitchen cabinets without spending considerable money on new construction.
Cabinet Refacing Explained
Put simply, refacing cabinets is the process of removing the old doors and drawer fronts from the cabinet frames and repainting, staining, or laminating them to create a new look in your kitchen.
While this might all sound complicated, it’s actually quite an easy job to complete independently. With just a few tools and the proper instruction, you can reface your kitchen cabinets for a refreshed and modern look.
Why Choose Cabinet Refacing?
Many homeowners will urge to update their homes at some point or another, but it’s often too expensive for the average person. Fortunately, many repairs and restoration processes are easy enough to handle for anyone who’s mildly handy, helping to keep costs low.
Some of the top reasons homeowners choose cabinet refacing instead of an entire remodel include:
- Affordable
- Fast
- Requires minimal demolition
- Easy clean-up
- Boosts property value
- Refreshes the space
- Simple to DIY
One great thing about refacing is that you won’t even have to remove any items from your kitchen to get the job done.
If you’re looking for a simple way to freshen up your kitchen cabinets and save money at the same time, try refacing your kitchen cabinets. Refacing your kitchen cabinets is an inexpensive way to enhance your space with ease when it’s not necessary to complete an entire remodel.
Where to Start With Cabinet Refacing?
Are you ready to give a kitchen cabinet refacing project a shot? Do your research before starting this project to ensure everything goes smoothly. The process is simple, and there’s no shortage of information to help guide you through.
There are tons of great videos you can watch on YouTube to see the process step by step. Some are even led by industry-trained professionals, such as a master carpenter, so you can guarantee the information you’re getting is correct.
If you’re still unsure where to start, consider consulting with a local contractor or continue doing research online before diving in. Numerous online sources can give you in-depth instruction for refacing your kitchen cabinets, and guides like ours are a great place to start.
Check out this short but informative video from Home Depot to give you a better idea of what you’ll need to do during your refacing project.
How to Reface Cabinets (The Right Way)
When your home’s existing drawers and cabinet doors look a little worse for wear, it’s easy to start getting ideas about renovations and new construction. The cost to completely upgrade a kitchen is often out of reach for modern homeowners, making it challenging to accomplish necessary home improvements.
Instead of breaking the bank with a comprehensive kitchen remodel, consider other do-it-yourself options that better fit your budget. Think about refacing cabinets as an excellent alternative to entire kitchen remodels.
Refacing your kitchen cabinets can keep costs low while still helping them look their best once again. Let’s take a look!
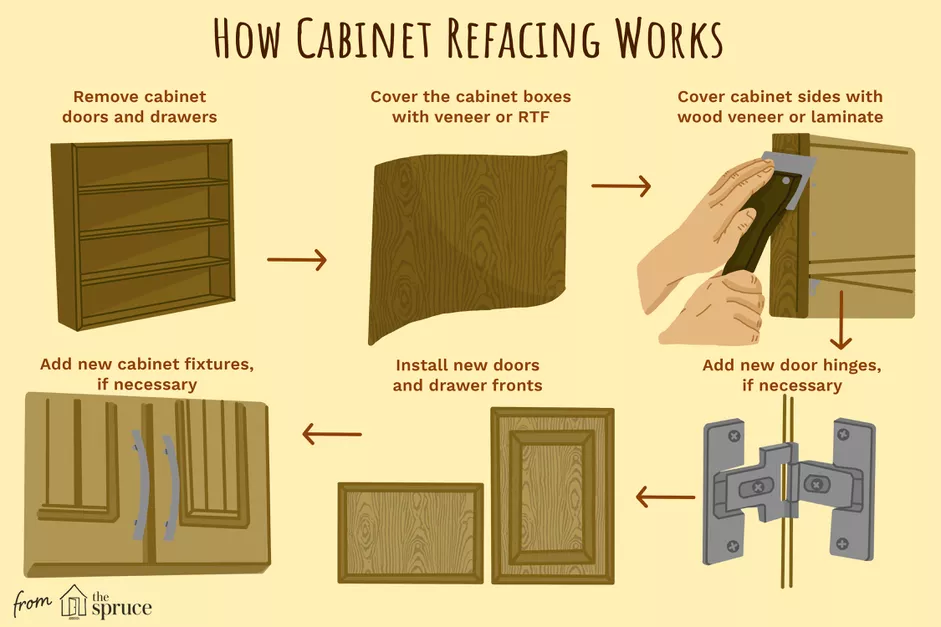
Photo courtesy of The Spruce
Prepping the Space
Like any other DIY project or home improvement job, preparing for the task is critical to your success. Once you’ve completed your prior research for this project, it’s also crucial to take ample time and care to ensure that the space you’ll be working is ready for use.
Refacing your kitchen cabinets the right way requires several essential items, such as tools, safety gear, cleaning products, and, of course, instructional guides. Get yourself ready for the job with the right equipment.
The proper tools for refacing cabinets include:
- Screwdriver
- Tape measure
- Sharp razor knife or sharp utility knife
- Laminate slitter
- Wood veneer
- Wood veneer applicator tool
- New doors
- Peel and stick cabinet refacing
- New hinge plate and hinges
- Wood stains and paints
- Sanding devices
- Eye protection
- Masks or respirators
- Cleaning equipment
Refacing cabinets is simple, but it can still be messy and dangerous. Utilize tarps and tape to minimize any dust spread when dismantling your cabinet doors or sanding things down.
Adequate ventilation is vital since things like dust or fumes from wood stains can harm your health.
With that said, it’s imperative to implement the proper safety precautions to keep yourself protected when cutting veneer strips or completing other potentially harmful tasks.
Deconstructing Existing Cabinets
Once your space is safe and prepped, you’re ready to get started on the refacing job. The first step is to deconstruct your old kitchen cabinets. This is necessary to correctly sand the cabinet doors and sand, stain, or apply vinyl.
Take these steps to dismantle your old cabinets:
- Remove each drawer box, carefully sliding the cabinet drawers along the glides.
- Unscrew drawer fronts from the drawer box and drawer bottom. Set each drawer front aside.
- Unscrew the top hinge plate of the cabinet.
- Repeat step two on the bottom hinge.
- Remove the cabinet doors from the face frame opening.
- Repeat steps one through five on the upper cabinets.
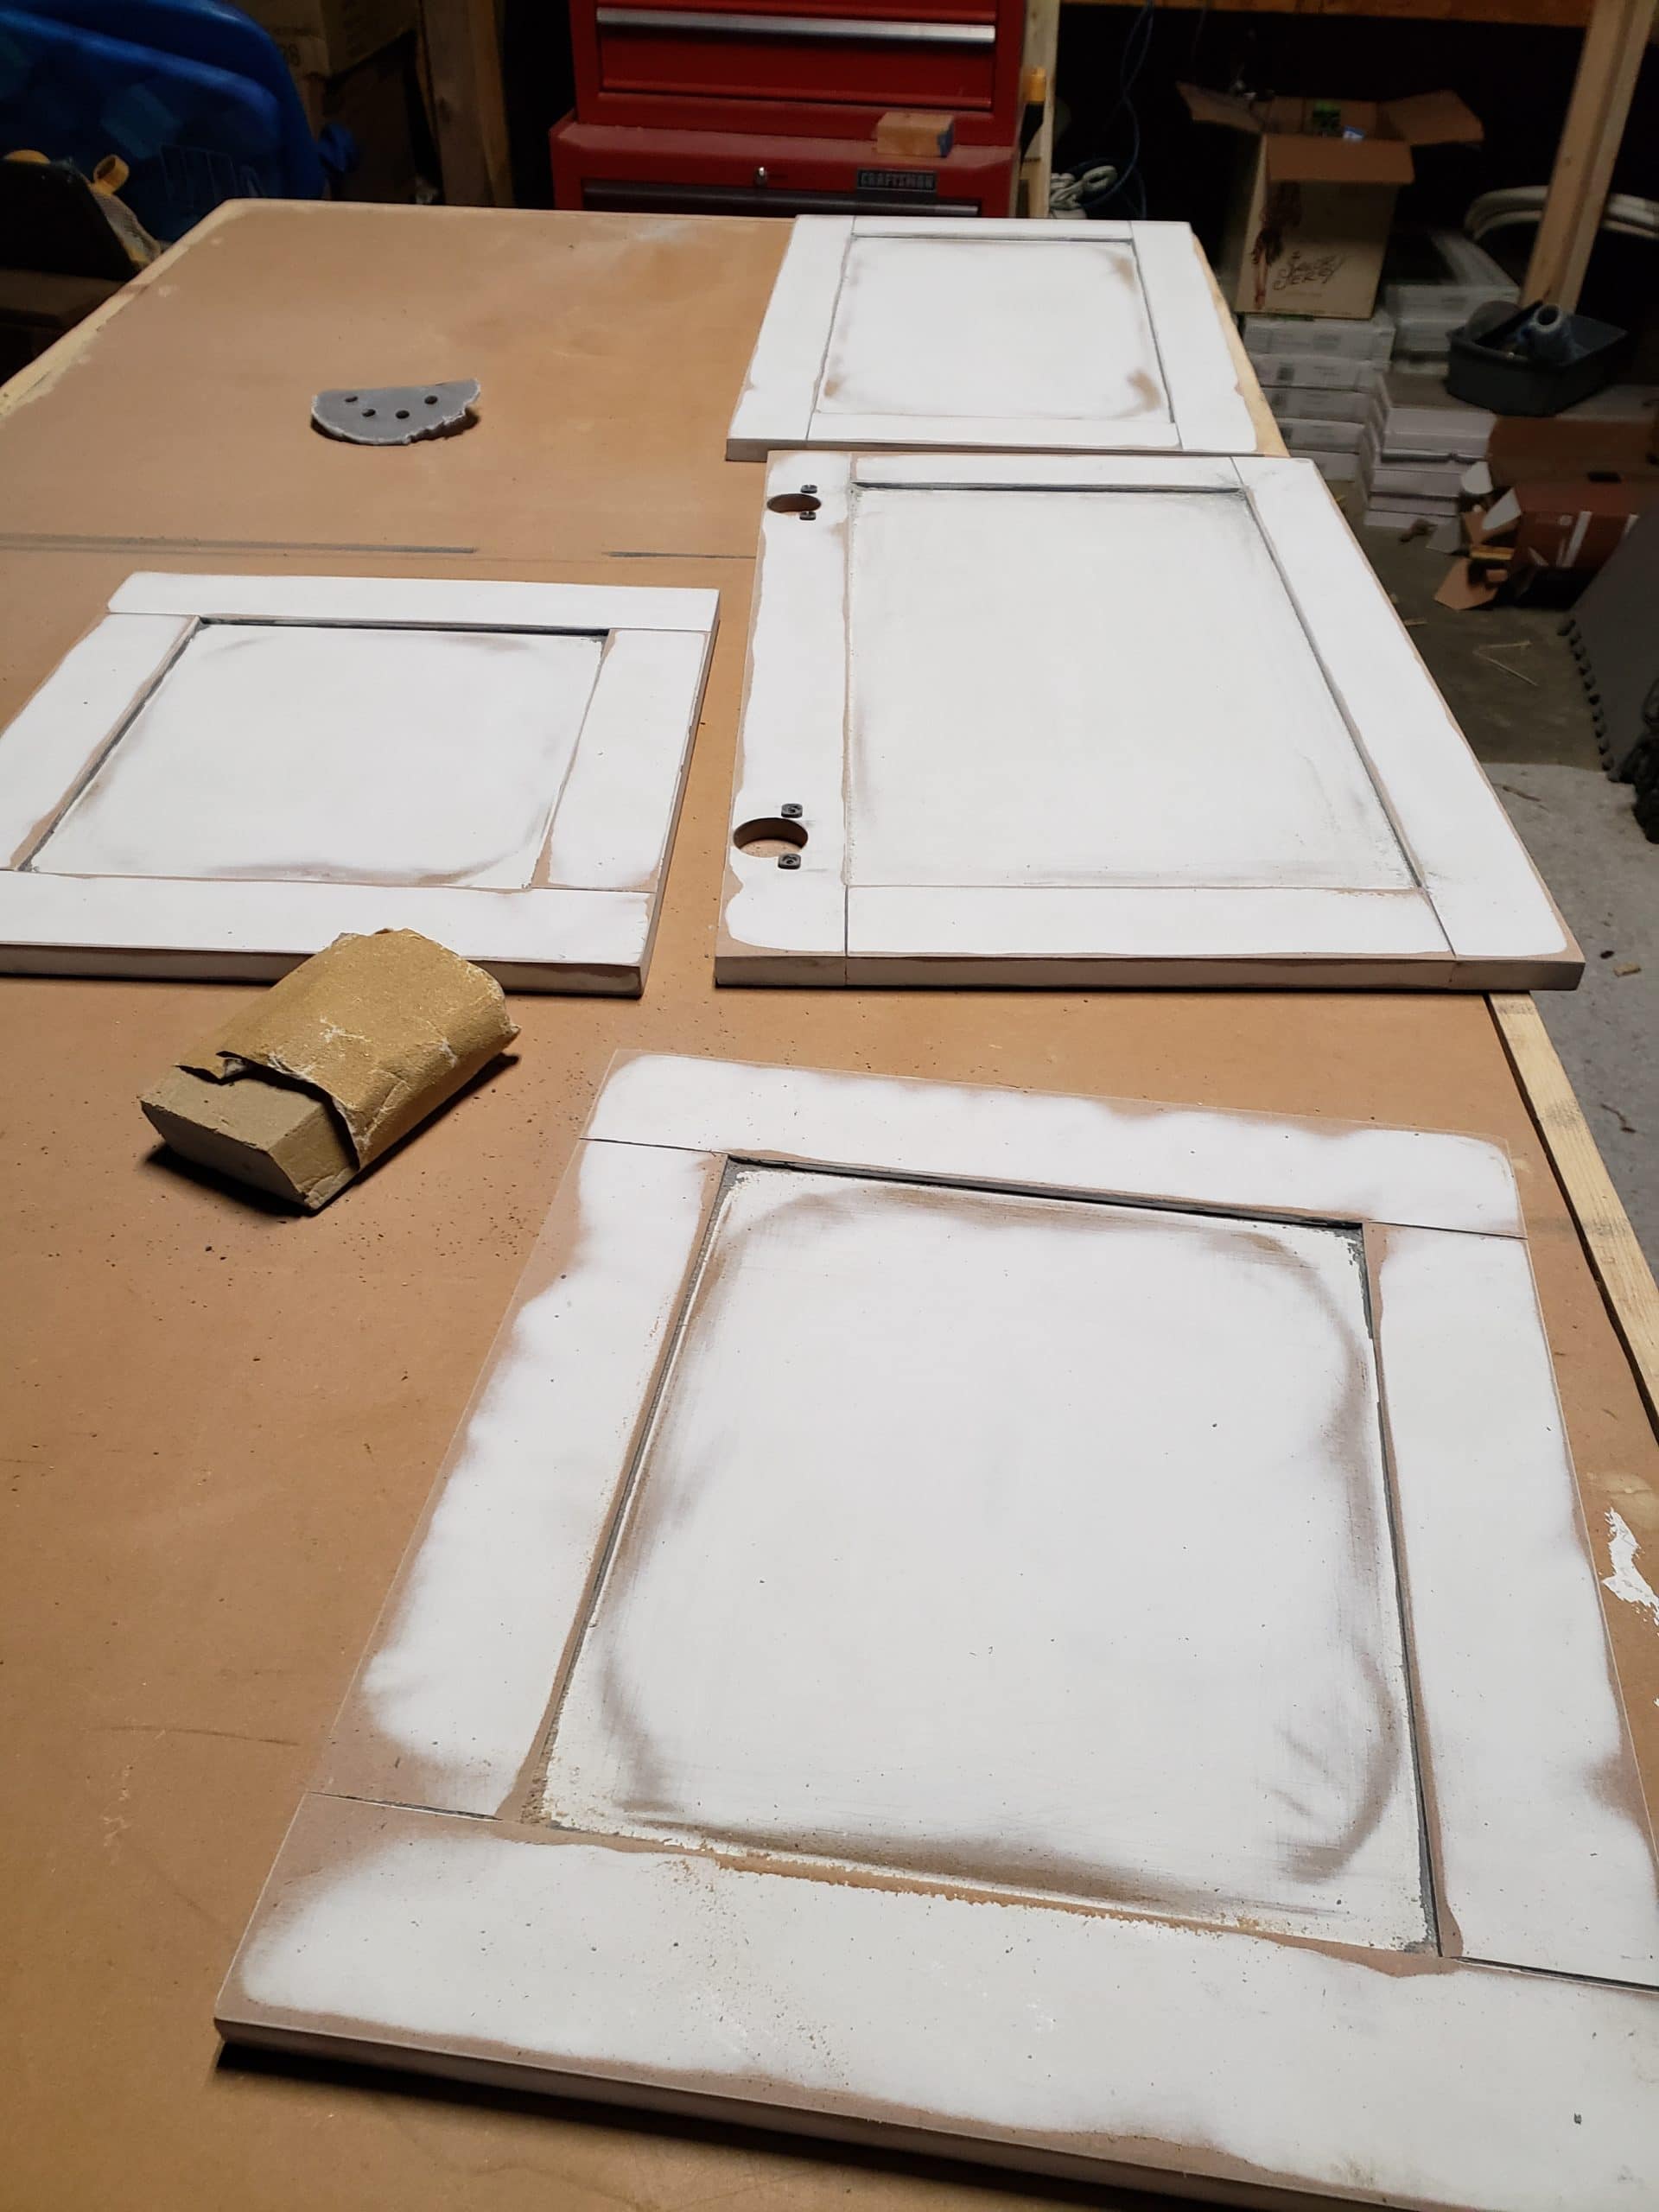
After your cabinets are taken apart, you can start moving on to more steps, such as painting face frame stiles, choosing new cabinet doors, and installing new hardware. Check out an example of before, during, and after photos below, so you know what to expect during this project.
Can I Save Pre-existing Cabinet Doors?
Although the main reason homeowners choose kitchen cabinet refacing as an affordable alternative to buying brand new cabinets, it isn’t the right option in every case. While some kitchen cabinets can be saved with the help of a simple matching stain pen, older, irreparably damaged kitchen cabinets or unique situations may call for new doors or cabinets altogether.
Examples of reasons you might forgo a refacing job in favor of new cabinets include:
- Your existing cabinets are in total disrepair
- You want to change your kitchen’s layout
- You require additional storage
Installing new doors or whole cabinet boxes can be pricey, but sometimes it’s a necessary expense. Repairing and refacing kitchen cabinets that are past their prime can ultimately cost more when they inevitably require further repairs or a total replacement.
It’s essential to assess each cabinet door and drawer front to ensure any damage isn’t extensive enough to require a new door or drawer front. Weigh your options before deciding whether to repair or replace your kitchen cabinets.
Focusing On the Frame
If you’re still on track to finish your refacing project after inspecting your kitchen cabinets, you can move onto the frame. With the face frames exposed, you’re ready to sand the kitchen cabinets, apply your veneer, and install a new paint and finish.
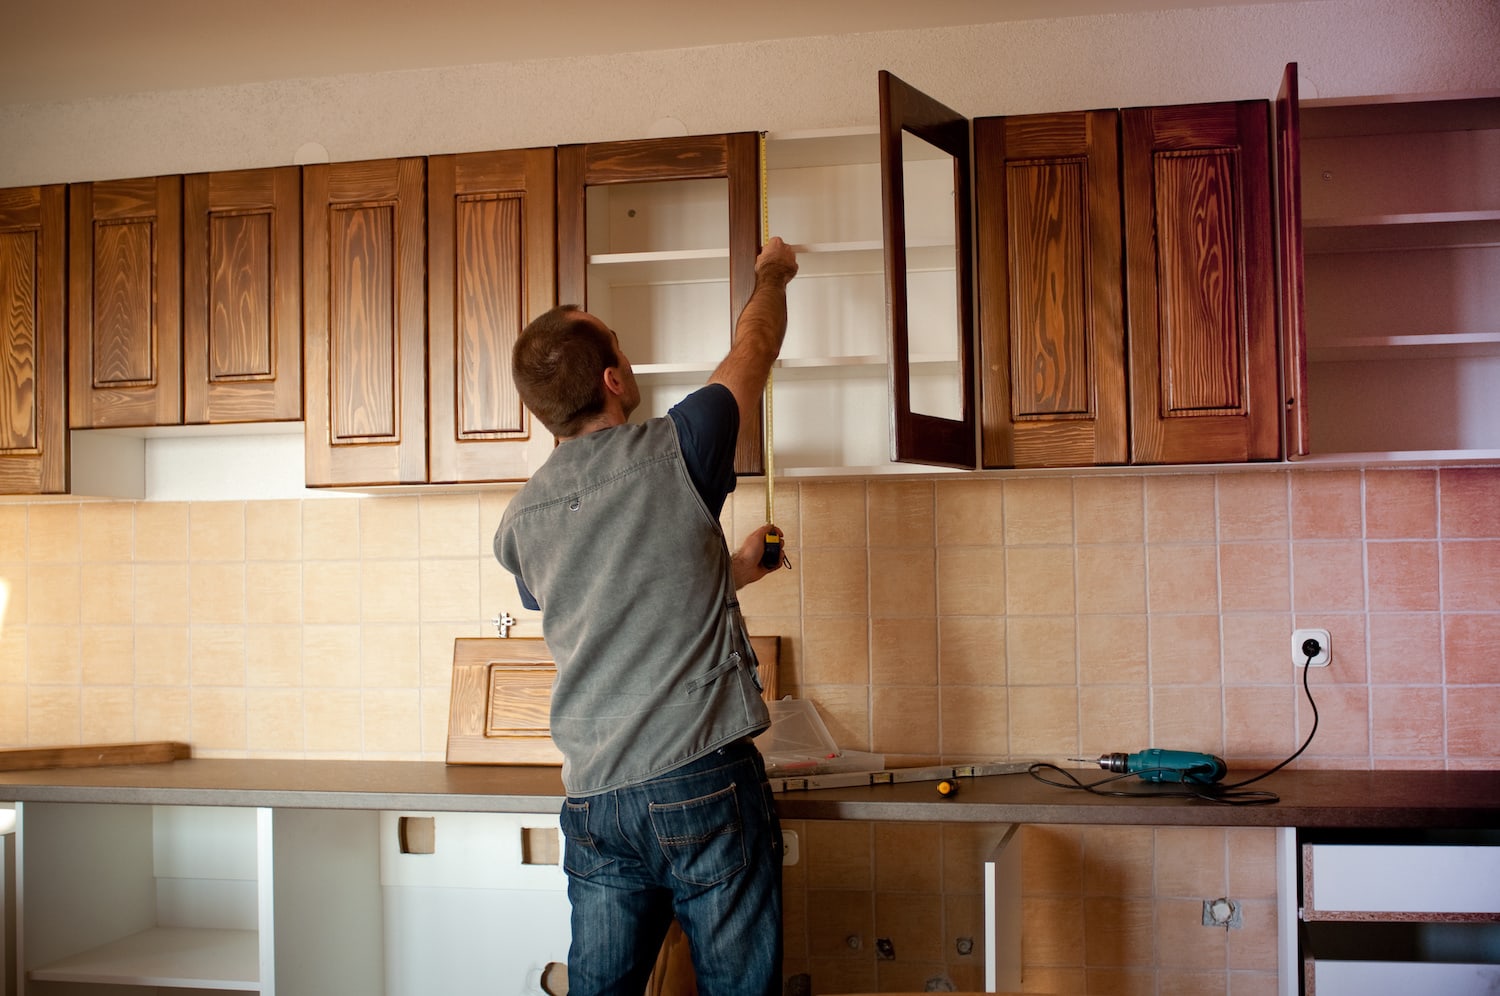
You’ll want to be meticulous with all your measurements, recording the exact width of all front edges, end panels, drawer fronts, and the door size. You’ll even need to know the length of every face frame drawer rail and face frame stile. Keeping track of each measurement will help avoid any oversize strips and ensure your cabinet door looks excellent at the end of the day.
Softly sand the exposed face frames all over, and follow that up with a wipe-down of alcohol. This helps veneer stick and end panels bond even better. Use the same PSA-backed veneer sheets on your cabinet frames that you plan on using on the cabinet door and drawer front for a clean, sleek look.
Choosing New Cabinet Doors
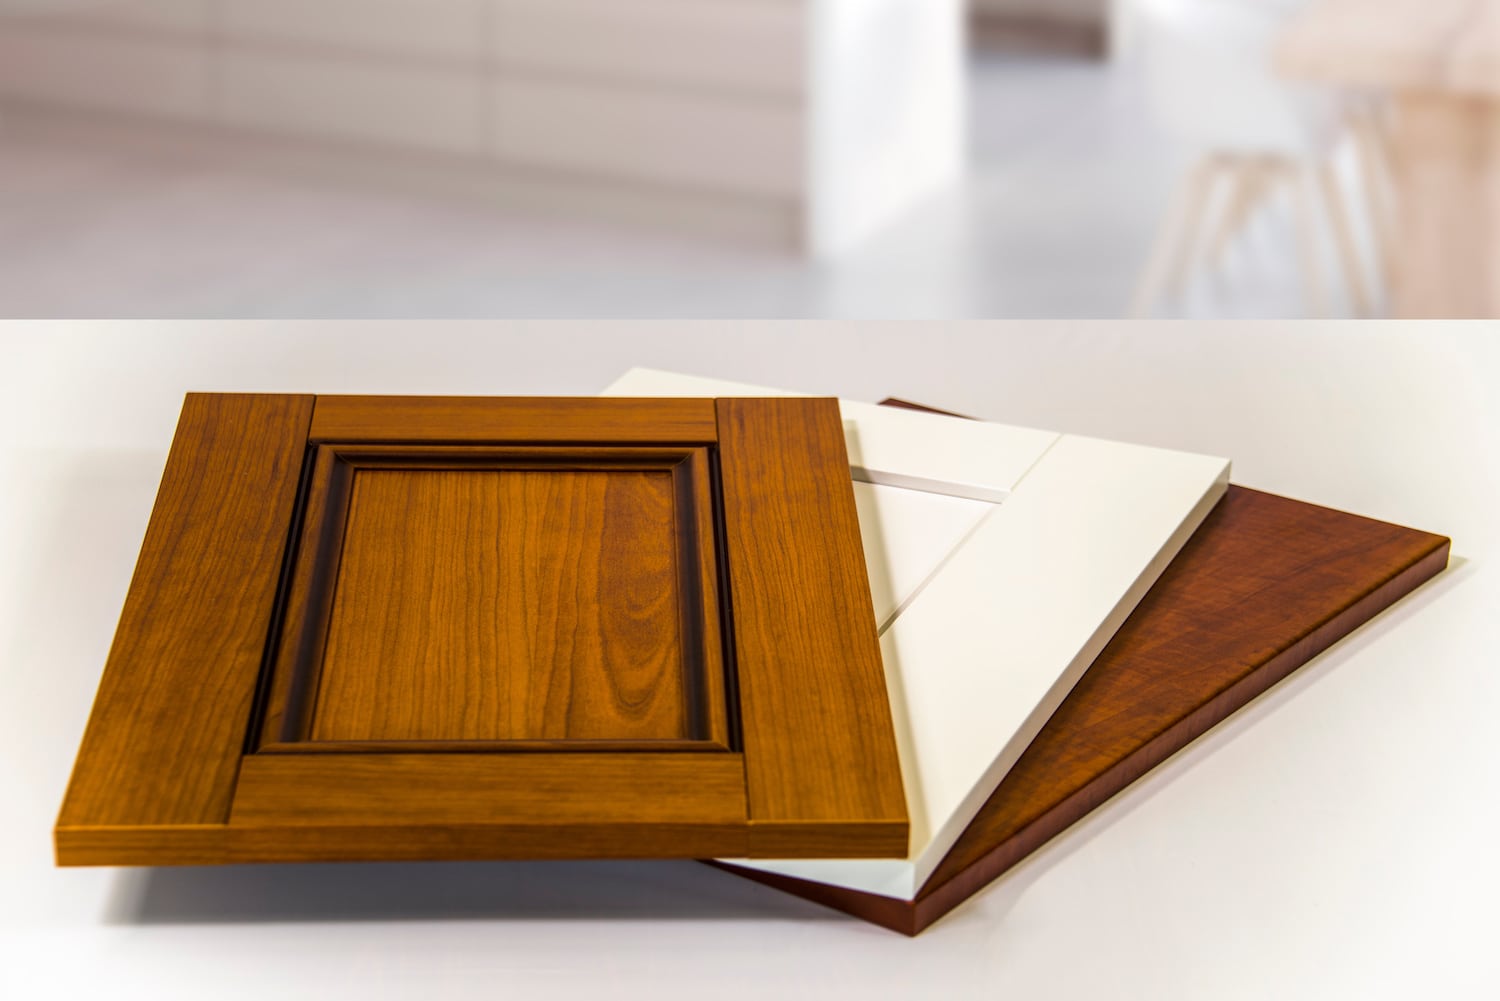
This is an excellent opportunity for homeowners who have to replace their kitchen cabinets entirely to change up the door style. Popular types of kitchen cabinets include:
- Shaker doors
- Square raised
- Decorative panel
- Center stile
- Single arch
- Double arch
- French
- Glass panel
Shop online or at your local home improvement store to see which kitchen cabinets suit your aesthetic. Many of these door styles have continued to maintain popularity from years ago, so you can still achieve a refreshed look after refacing even if you’re using old kitchen cabinets.
Applying the Veneer
With your cabinet frames sanded and wiped and the doors and drawer fronts removed, you’re ready to start cutting and applying the new veneer. Selecting a PSA-backed veneer will make the application process fast and easy.
PSA-backed veneer sheets feature a peel-and-stick adhesive backing, eliminating the need for any messy construction adhesive or contact cement, which can be challenging to work with.
Cutting
After taking exact measurements, use a sharp utility knife (or a laminate slitter if you can get your hands on one) to cut strips of veneer for each section of your cabinets.
You’ll need veneer strips to cover the following cabinet sections:
- Face frame drawer rail
- Face frame rail
- Face frame stile
- Cabinet doors
- Drawer fronts
- Cabinet stiles
- End panels
- Toe-kicks
Use extreme care when cutting the veneer to ensure they’re the exact width of each piece and won’t extend past any cabinet portions. Having to cut and then re-cut veneer is costly in terms of both time and money.
Installing
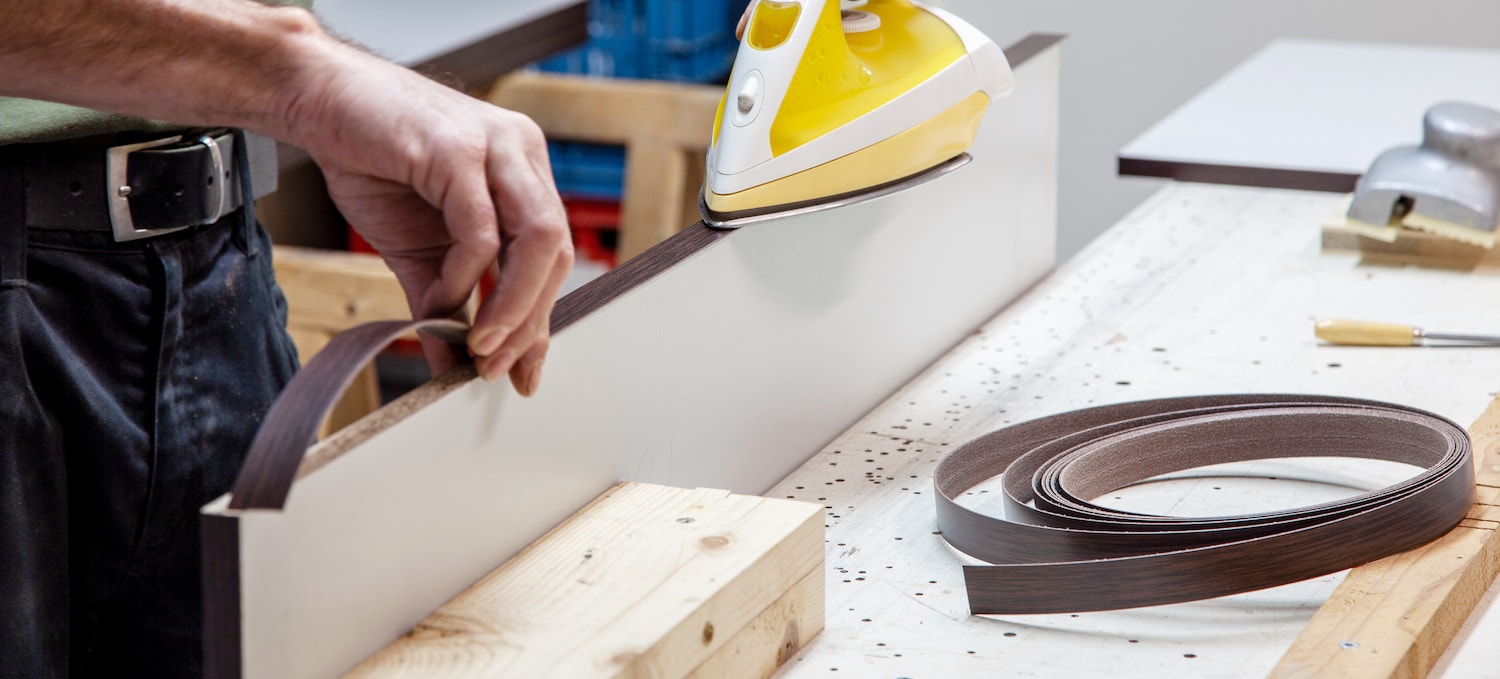
Now that the cut veneer is in hand, it’s time to apply it to each cabinet piece. After removing the backing from your strips, utilize a veneer applicator tool to stick each piece down to doors, stiles, and end panels.
Carefully align the front edge of each strip with the cabinet piece, and use the pressure of the applicator tool to remove any remaining air bubbles beneath the veneer’s surface.
Once the veneer is placed, inspect each end panel for any unstained edges. If you notice any old color coming through, you can simply use a matching stain pen to make it perfect. When applying the matching stain, it’s important to work in strokes that go along with the new doors’ wood grain to ensure the minor issue is unnoticeable.
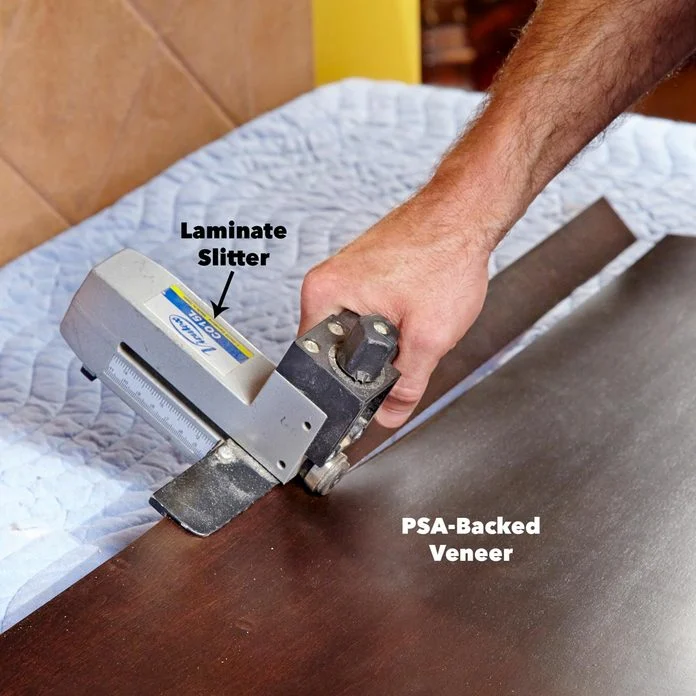
Photo courtesy of The Family Handyman
Putting Things Back Together
Cutting and installing your new veneer is the challenging part of cabinet refacing. With the hard part out of the way, you want to reassemble your cabinets to see how it all looks.
Since you already took everything apart earlier in the process, putting things back together should be a snap. Simply walk through the steps you completed before backward. Be mindful of your cabinet door hinges and drawer front placement, so nothing looks crooked when the doors and drawers close.
Re-install each end panel and the toe-kick underneath the cabinet frames. Then, top off your project with new hardware brought from your local shop or online store. If everything looks good and works properly when all is said and done, you should be pleased with your hard work. Wasn’t that so much easier than it sounded?
Need a New Look? Consider Cabinet Refacing
Refacing your old kitchen cabinets is a cheap and quick fix to refresh your space and save money. Although this DIY project is perfect for anyone from beginner to expert, you can expect more challenges from a unique, historic home.
If you live in a historic home in Acton, Massachusetts, area, ask for help from a team of trusted professionals before taking on this project. This way, you protect your beautiful house without doing any harm. Consult with TBA Designs virtually today to get the assistance you need to ace your next kitchen cabinet refacing project perfectly.

